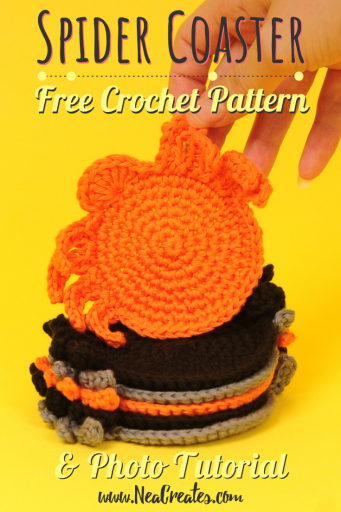
Spider Coaster: Free Crochet Pattern
October 7th, 2018 | 7 Comments | by Nea
Hey guys!
I am back with another pattern for you right before Halloween!
By now I think we can all agree that I am not good at writing blog posts, and yet, here we are. I will try to write something interesting here, then I’ll leave you with the (imo) very pleasing imagery and the actual pattern!
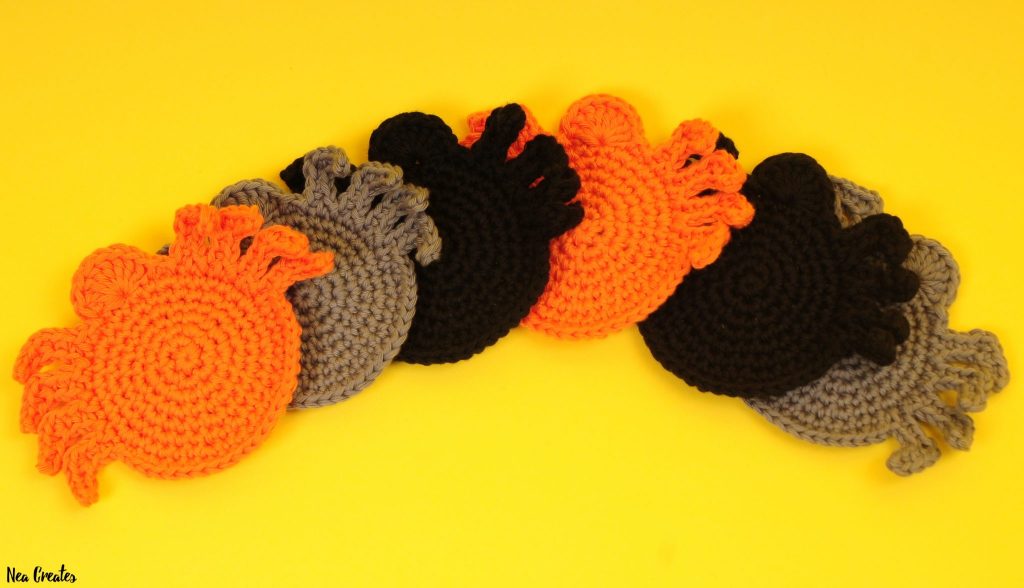
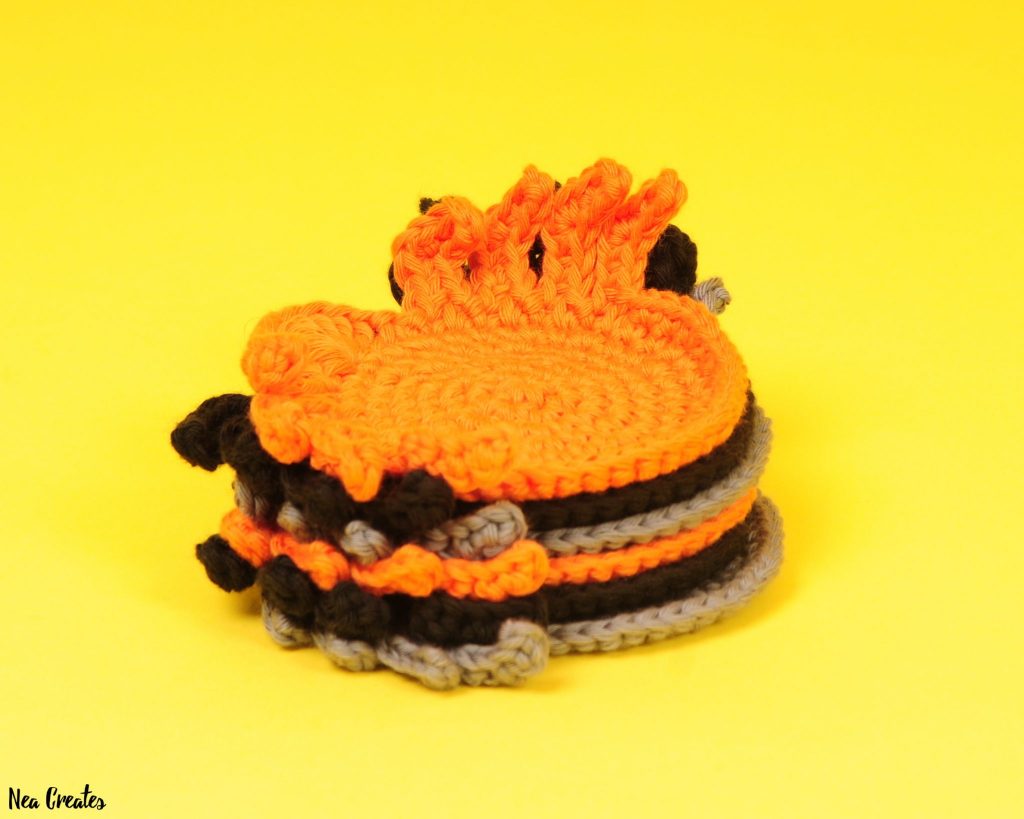
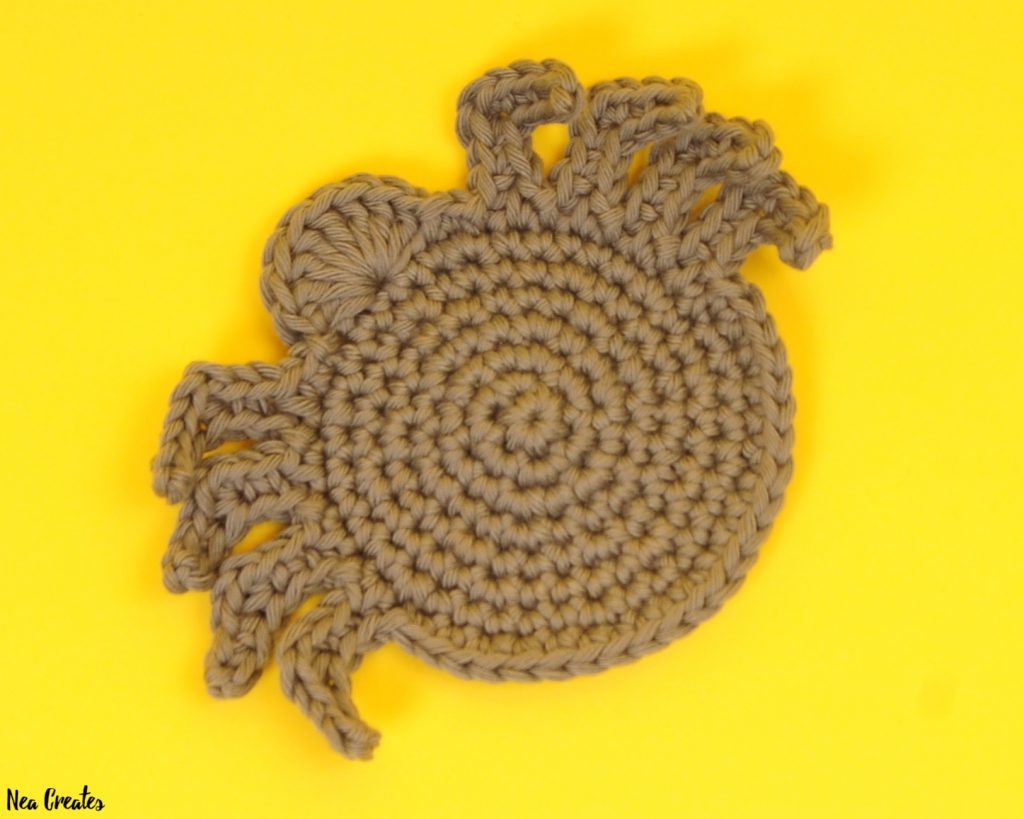
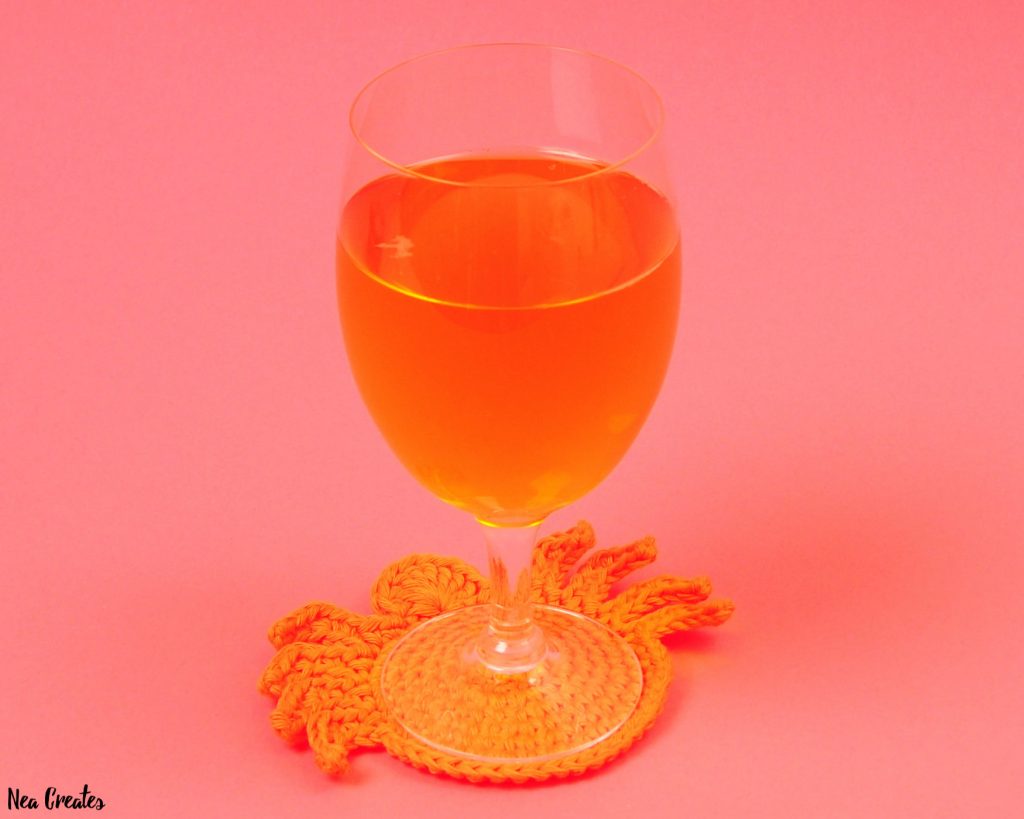
I actually thought of this pattern and crocheted a first version of it before Halloween last year, but I only had time to finish Boo the Ghost at that time. This year I’ve had the time to refine the pattern properly (I’ve tried different positioning of the legs, different sizes of the head etc.) and I am very pleased with the outcome. The coasters are creepy and cute at the same time but also have a function. I did not block my coasters since I quite like the way the legs curl (makes them look more lifelike I think) but you could block them and get some flatter coasters.
That’s all the writing I have in me, I hope you enjoy the pattern!
About the pattern
You can buy a bundle of two beautifully formatted PDF versions of this pattern on Etsy. One version uses color, while the other is made in black and white to be more printer friendly.
Add this pattern to your Ravelry queue on the Spider Coaster Ravelry page.
Disclaimer: This pattern is an original pattern by Nea Creates, it may not be redistributed in any way, shape or form. If you want to share the pattern you may link to the pattern post, you may not repost the pattern on your site. Items completed from this pattern may be sold, provided that you give Nea Creates credit for the pattern and provide a link to the pattern post or the Nea Creates home page.
Size: The coaster measures 8cm in diameter.
Difficulty: Easy
Notes: This pattern is written in English, US crochet terminology and SI units are used throughout. I use a smaller hook size than the yarn calls for to get tighter stitches. The Spider Coaster is crocheted in one piece in continuous rounds. All measurements are approximate & will vary with your yarn & tension.
Materials & Tools
- – 10g/15m of yarn calling for 4.5mm hook, e.g. Adlibris Cotton 8/9 / Adlibris Cotton Aran
- – 3.5mm crochet hook
- – Stitch markers
- – Scissors
- – Yarn needle
Abbreviations & Stitches used
- R# – Row/round number #
- P# – Picture number #
- N – Note/instruction
- T – Tip
- yo – Yarn over
- pt – Pull through
- st(s) – Stitch(es)
- ch(s) – Chain(s)
- sk # – Skip # sts/chs/sps
- ss – Slip stitch
- mr – Magic ring/circle/loop
- sc(s) – Single crochet(s)
- dc(s) – Double crochet(s)
- inc – Increase: 2 scs in same st
- dinc – Double increase: 3 scs in same ch
- ddec – Double decrease: Sc 3 chs together
The Pattern – Spider Coaster
Spider Coaster
R1 6 sc in a mr (6)
T Crochet around yarn tail from mr in following rounds, this way there’s no need to weave it in later.
R2 6 inc (12)
R3 [inc, sc]×6 (18)
R4 [sc, inc, sc]×6 (24)
R5 [inc, 3 sc]×6 (30)
R6 [2 sc, inc, 2 sc]×6 (36)
R7 [inc, 5 sc]×6 (42)
T For R8 crochet in back bumps of chs for the best looking spider legs.
R8 sc, [ch 6, sc in 2nd ch from hook, sc, dinc, 2 sc, ss in next st of body, sc]×4 P1-5, ss, sk 1, 8 dc in next st, sk 1, ss P6, 2 sc, [ch 8, sc in 2nd ch from hook, sc, ddec, 2 sc, ss in next st of body, sc]×4 P7-9, sc, inc, 6 sc, inc, 6 sc, inc, 2 sc
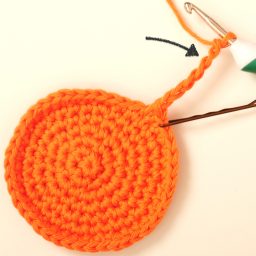
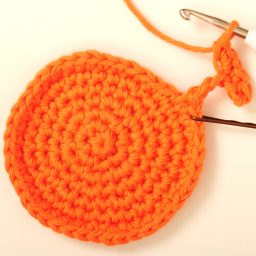
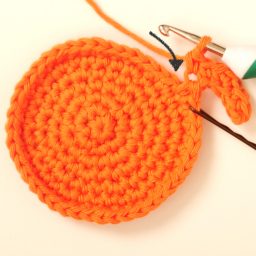
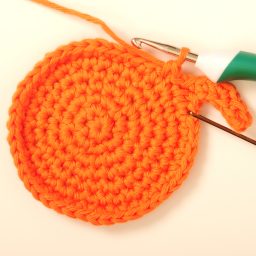
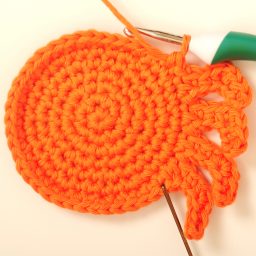
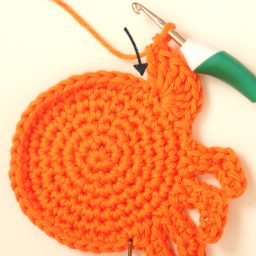
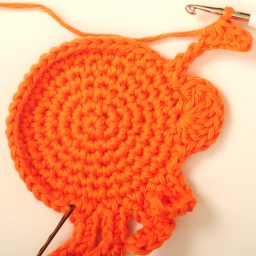
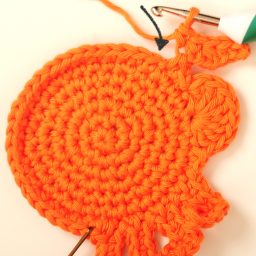
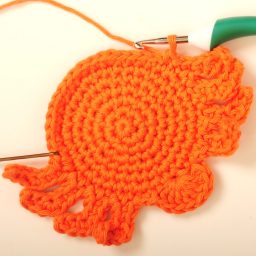
N Cut yarn & pull out of last sc P10, pull under both lps of next st P11 then back down through last sc P12, knot & weave in.
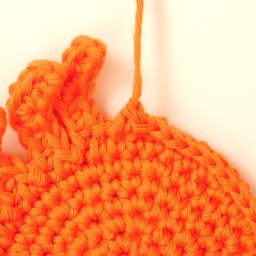
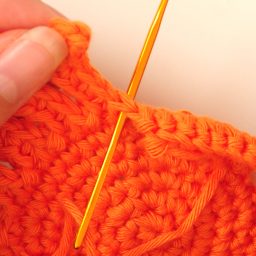
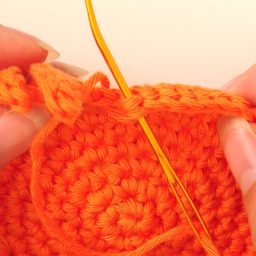
All done!
If you made your own Spider Coaster, please share it with me on social media! @NeaCreates
Hi!
I’m making the spider coasters and once I get past the head and am working on the left side legs, I can’t get the curl down towards the bottom of the coaster. I’ve tried several different ways can’t make it work out right. Help!
Thanks, Mary
Hi Mary! Sorry for the late reply. ☹️
I had a different person contact me about the same issue on Instagram/Facebook, in her case she had done:
ddec = [insert hook in next ch & pull up a loop]x3, yo & pt 3 loops on hook, yo & pt both loops on hook
instead of:
ddec = [insert hook in next ch & pull up a loop]x3, yo & pt all 4 loops on hook
Additionally you can make sure that the ddec stitches are pretty tight and after you’ve finished all legs you can shape them a little bit. I.e. uncurl the first row of legs and curl the second row of legs using your fingers.
I hope this helps, if not you can contact me via Instagram/Facebook so that you can send me pictures. 😊
I just made one of these cute coasters! What fun and quick and easy! I will be making more of these for sure!
Thank you! That makes me so happy to hear! 😊
Why is one side of legs 6 and the other is 8?
On the first side of the spider we are shaping the legs by making a double increase but since the legs on the other side need to mirror the first set of legs we need to shape them by making a double decrease. Another way to think about it is that on the first set of legs the 6 chains are on the bottom and the 8 stitches are on top; and on the second set of legs the 8 chains are on top and the 6 stitches are on the bottom. If I didn’t adjust the pattern this way all the legs would bend the same way along the body of the spider since it’s worked in a circle.