Cabled Headband: Free Crochet Pattern
January 21st, 2018 | Leave a comment | by Nea
I’m finally done with this pattern!
Sooo, I’m not great at writing these things… It just feels awkward to me. However, practice makes perfect so I’ll keep at it. Another thing I’m not very good at is coming up with creative names for my patterns. But hey, at least “Cabled Headband” describes pretty much exactly what it is, right?
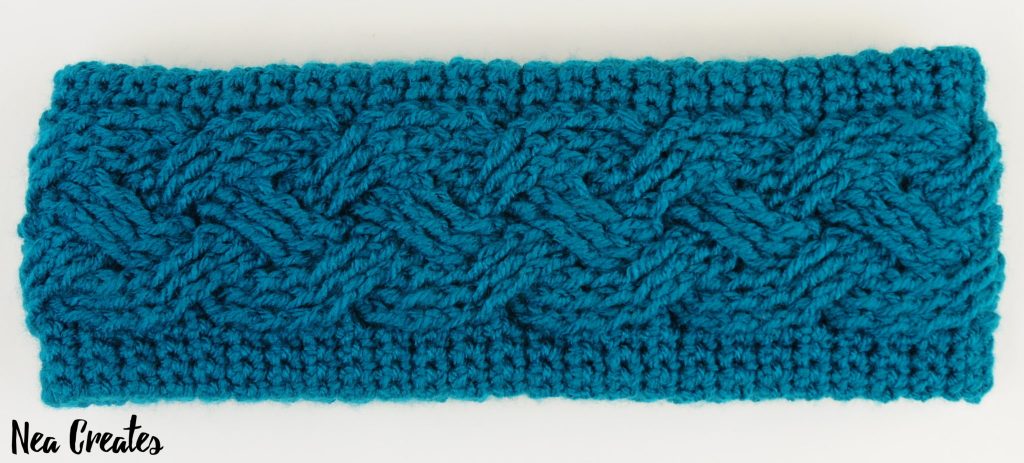
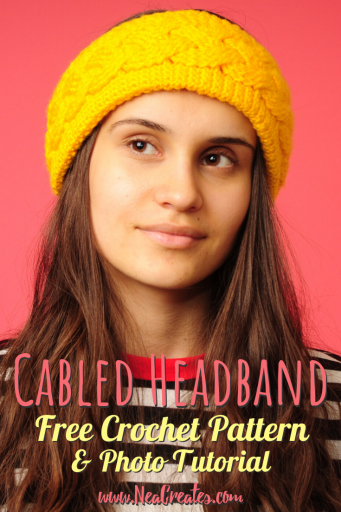
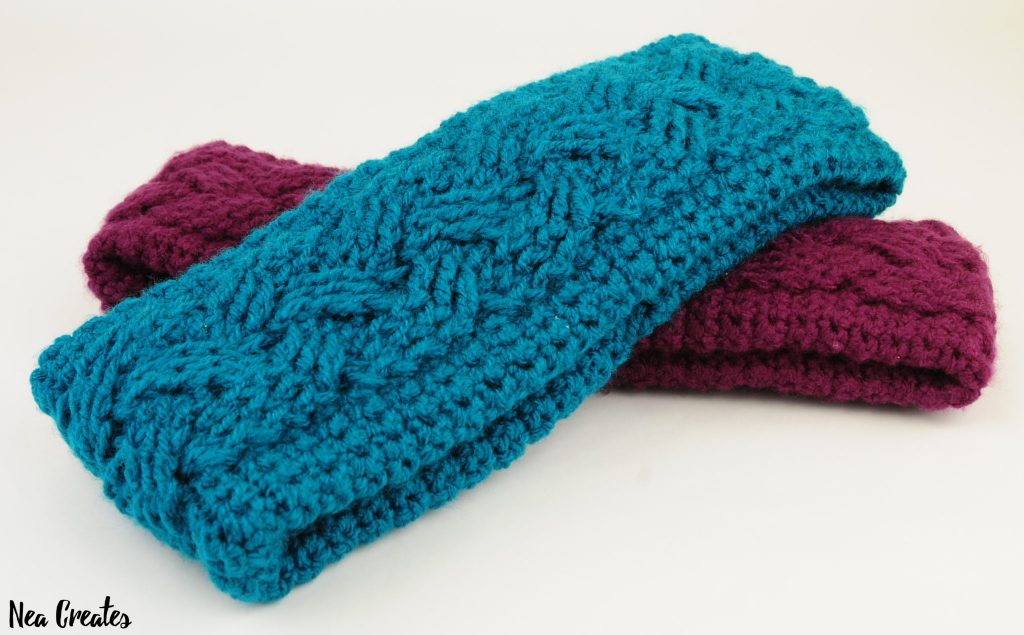
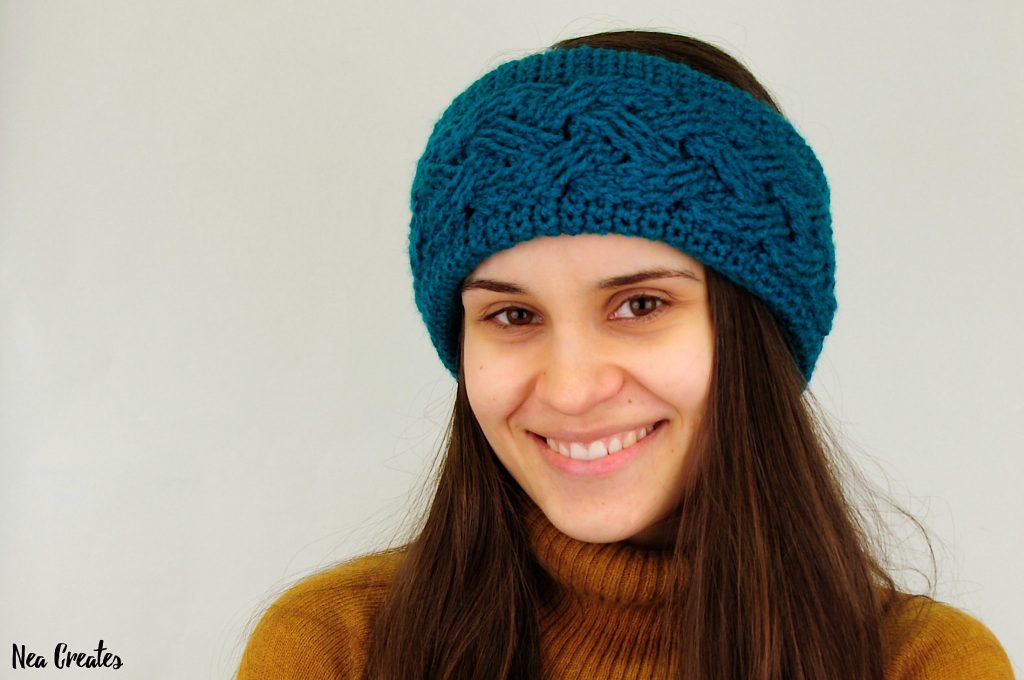
I had the idea for this cabled headband/ear warmer about a year ago and made the purple and yellow color ways last spring. The pattern is an 8 row repeat and it’s crocheted in a tube. Because it’s crocheted in a tube it’s double sided, which makes it really warm and very useful for the weather we’re having here.

Speaking of weather, I saw the sun once this week when I left work at 4 on Friday, and it was setting. So that’s awesome… It also means we weren’t able to take any pictures outside. As you can see my lovely sister in law Sofija was able to model for me again at least. I think that’s about it, I hope you enjoy the pattern!
About the pattern
You can buy a bundle of two beautifully formatted PDF versions of this pattern on Etsy. One version uses color, while the other is made in black and white to be more printer friendly.
Here’s the link to the Cabled Headband Ravelry page, if you would like to start a project there.
Disclaimer: This pattern is an original pattern by Nea Creates, it may not be redistributed in any way, shape or form. If you want to share the pattern you may link to the pattern post, you may not repost the pattern on your site. Items completed from this pattern may be sold, provided that you give Nea Creates credit for the pattern and provide a link to the pattern post or home page.
Finished size: This pattern is pretty much an 8 row repeat, so you could make it any size you want. The headbands in the pictures have a circumference of approximately 52-55cm and measure approximately 9-11cm wide.
Difficulty: Intermediate. I do not recommend this pattern to anyone who’s never worked with crochet cables before.
Notes: This pattern uses US crochet terms and SI units throughout. Chain 1 at the beginning of each row does not count as a single crochet, so we never skip a stitch at the beginning of a row. We will alternate the crocheting direction, each row with front post stitches (odd rows) will be crocheted from the outside clockwise while the rows with only single crochets (even rows) will be crocheted from the inside anti clockwise. All front post stitches are crocheted around the posts 2 rows below, so we will skip the 12 middle single crochets of each even numbered row in each odd numbered row starting from R3.
Materials & Tools
– A 4mm crochet hook
– A 5mm crochet hook (optional)
– Yarn in any color you like calling for a 4-5mm hook (I used approximately 100g of Favorite by Ice Yarns)
– Stitch markers
– Scissors
– Yarn needle
– Measuring tape
Abbreviations & Stitches used
- yo – Yarn over
- tyw – Turn your work
- st(s) – Stitch(es)
- ch – Chain
- ss – Slip stitch
- sk – Skip the indicated number of sts
- sc – Single crochet
- fp – Front post
- fpdc(s) – Front post double crochet(s)
- fptc(s) – Front post treble/triple crochet(s)
Pattern – Cabled Headband
N! Using the 5mm hook or crocheting loosely, ch 34. Change to the 4mm hook, make sure the ch is not twisted then ss to the back bump of the first ch.
R1 ch 1, sc in each back bump across the ch (34), mark the posts of the 12th and 23rd sts for R3, ss to the first sc of the row P1 (34)
R2 ch 1, tyw, 34 sc, ss to the first sc of the row P2 (34)

R3 ch 1, tyw, 11 sc, 12 fpdc around the sc posts of R1 (you marked the first and last posts to crochet around), sk 12 sc, 11 sc, ss to the first sc of the row P3-4 (34)

R4 repeat R2 P5-6 (34)
R5 ch 1, tyw, 11 sc, [sk 3 fpdcs, 3 fptc around the fpdcs 2 rows below, 3 fptc in front around the 3 skipped fpdcs]×2, sk 12 sc, 11 sc, ss to the first sc of the row P7-11 (34)


R6 repeat R2 (34)
R7 ch 1, tyw, 11 sc, 12 fpdc around the fp sts 2 rows below, sk 12 sc, 11 sc, ss to the first sc of the row P12 (34)
R8 repeat R2 (34)
R9 ch 1, tyw, 11 sc, 3 fpdc around the fpdcs 2 rows below, sk 3 fpdcs, 3 fptc around the fpdcs 2 rows below, 3 fptc behind around the 3 skipped fpdcs, 3 fpdc around the fpdcs 2 rows below, sk 12 sc, 11 sc, ss to the first sc of the row P13-17 (34)


R10 repeat R2 (34)
R11 repeat R7 P18 (34)
R12 repeat R2 (34)
N! Repeat R5-12 until the piece reaches around your head, preferably ending on a R8 or R12, but a R6 or R10 is also fine. (I repeated until the headband measured 52-55cm P19)
N! Leaving a long yarn tail for sewing the headband together, cut the yarn, yo and pull completely through the loop on the hook to create a knot. Now line the last row up with the starting ch and start sewing them together 1 st/ch on each side at a time. When finished, make a knot and bury the yarn tail inside the headband. P20-21

All done!
If you followed this pattern and crocheted your own Cabled Headband, please share it with me! #NeaCreates
