Bulky Crochet Socks: Free Crochet Pattern
April 22nd, 2018 | 16 Comments | by Nea
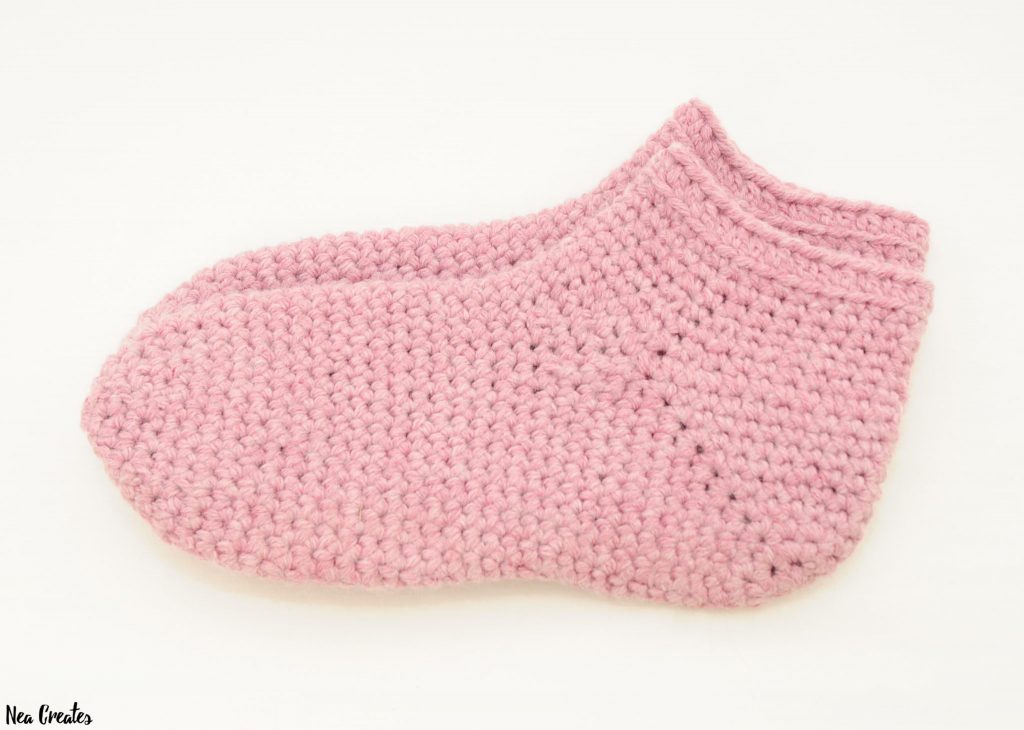
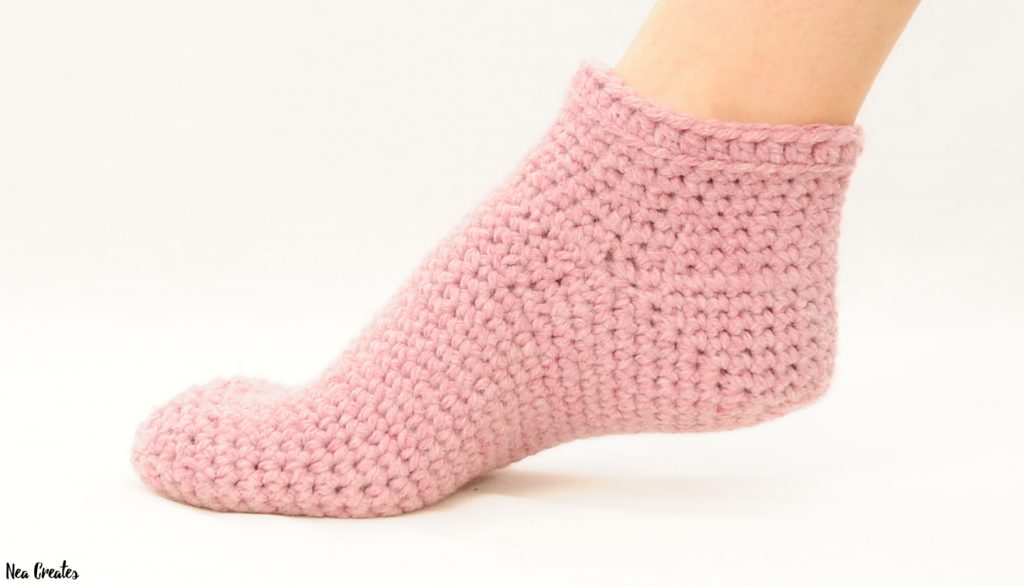
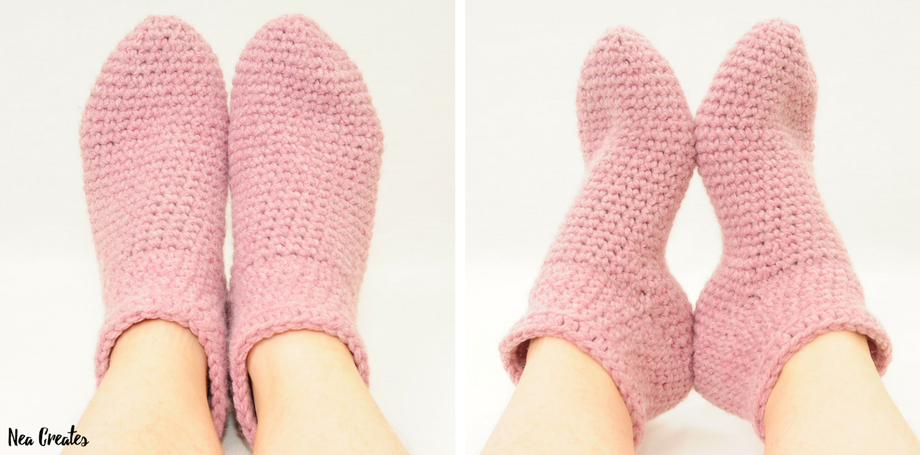
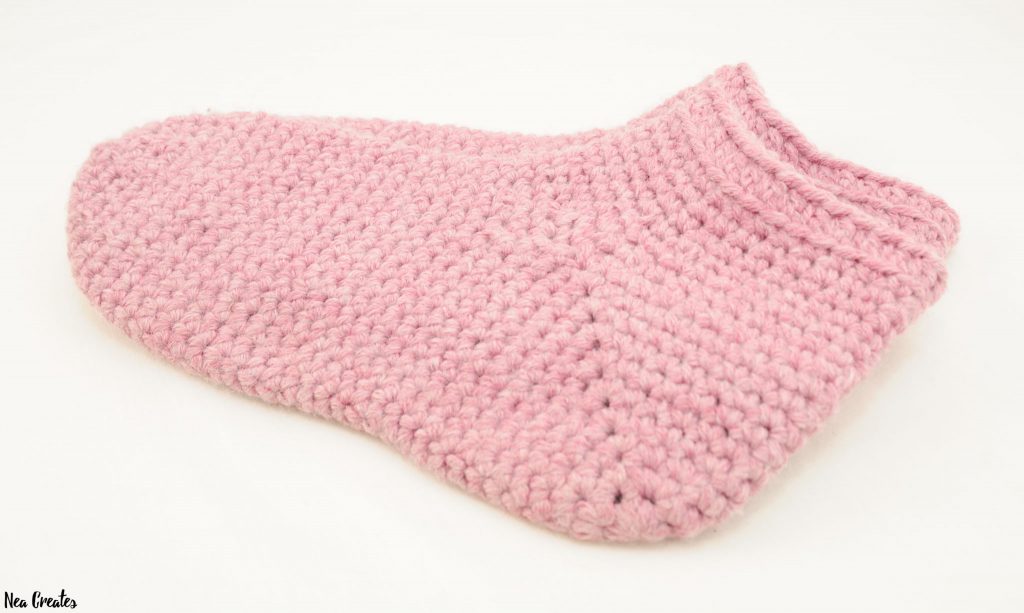
Hey guys! I’ve finally finished the pattern for my Bulky Crochet Socks!
Every time I’m gonna post a pattern I’m somehow surprised at the amount of work it takes. I haven’t even written this pattern for several sizes and still I’m exhausted…
And for that reason, and because I mostly just like sharing my patterns and not really writing so much, this is all the text you get. 🙂 I hope you enjoy the pattern!
About the pattern
You can buy a bundle of two beautifully formatted PDF versions of this pattern on Etsy. One version uses color, while the other is made in black and white to be more printer friendly.
Here’s the link to the Bulky Crochet Socks Ravelry page, if you would like to start a project there.
Disclaimer: This pattern is an original pattern by Nea Creates, it may not be redistributed in any way, shape or form. If you want to share the pattern you may link to the pattern post, you may not repost the pattern on your site. Items completed from this pattern may be sold, provided that you give Nea Creates credit for the pattern and provide a link to the pattern post or home page.
Gauge: 13 single crochets by 14 rows makes a 10x10cm square.
Finished size: If you have the same gauge and follow the instructions for my size you should get socks in approximately a woman’s size 39EU/6.5UK/8.5US.
Difficulty: Intermediate, it’s really not that difficult but it’s not easy either. Use stitch markers liberally, the more the merrier!
Notes: This pattern uses US crochet terms and SI units throughout. I use a smaller hook size than what the yarn calls for to get tighter stitches. The sock is worked in continuous rounds starting from the heel. After the heel is finished the foot is crocheted, and lastly you will reattach the yarn to the back of the heel to crochet the leg of the sock. I always mark the last stitch of the row, keep this in mind if you prefer to mark the first. The pattern is only for one size of socks with tips and tricks on how to adjust it for your size.
Material & Tools
– A weight 5/bulky yarn (I used approximately 135g of Soft Touch Bulky by Ice Yarns)
– A crochet hook in the size needed to obtain the gauge (probably 5mm-7mm)
– Stitch markers
– Scissors
– Yarn needle
– Feet, if available, for measuring 🙂
Abbreviations & Stitches used
- yo – Yarn over
- st(s) – Stitch(es)
- mr – Magic ring/circle/loop
- sk # – Skip # sts/chs
- ch(s) – Chain(s)
- ss – Slip stitch
- sc – Single crochet
- hdc – Half double crochet
- flo – Front loops only
- inc – Increase, make 2 single crochets in the same st
- dinc – Double increase, make 3 single crochets in the same st
- idec – Invisible single crochet decrease (a normal decrease is also fine)
- bl – Back loop
- blo – Back loops only
Pattern – Bulky Crochet Socks
Heel and foot
R1 6 sc in a mr (6)
R2 6 inc (12)
R3 [inc, sc]×6 (18)
N! Put a stitch marker in the 5th and 14th sts P1. For each of the following 6 rows, you will put 3 sc (1 dinc) in the marked sts and move the stitch marker to the middle of those 3 sc.
R4 [4 sc, dinc, 4 sc]×2 (22)
R5 [5 sc, dinc, 5 sc]×2 (26)
R6 [6 sc, dinc, 6 sc]×2 (30)
R7 [7 sc, dinc, 7 sc]×2 (34)
R8 [8 sc, dinc, 8 sc]×2 (38)
R9 [9 sc, dinc, 9 sc]×2, P2 (42)

R10 10 sc, without removing the stitch marker, ss to the first marked stitch P3, ch 14 fairly tightly P4, sk 20 sts, without removing the stitch marker,
ss to the second marked st P5, 10 sc (36)

R11 10 sc, sc in the ss, sc in the bl of the first ch P6 and mark the fl and back bump of that ch for the first row of the leg P7, sc under the bl of each
of the remaining chs (13), mark the fl and back bump of the last ch for
the first row of the leg P8, sc in the ss, 10 sc P9 (36)

R12 8 sc, idec, sc, idec, 10 sc, idec, sc, idec, 8 sc (32)
R13 32 sc (32)
R14 7 sc, idec, sc, idec, 8 sc, idec, sc, idec, 7 sc (28)
R15-31 28 sc (28)
R32 [idec, 5 sc]×4 (24)
R33 [2 sc, idec, 2 sc]×4 (20)
R34 [idec, 3 sc]×4 (16)
R35 [sc, idec, sc]×4 (12)
R36 [idec, sc]×4 (8)
N! Ss to the next st, leaving a yarn tail for closing the toe, cut the yarn and pull it completely out of the ss. Thread the yarn tail and weave it through flo of the remaining sts (8) P10, pull to close P11, pull the yarn tail inside the sock P12 and weave it in.
Leg
N! Mark the 10th free st to the left of the right stitch markers P13.

R1 pull up a loop through the newly marked st P14, crocheting around the yarn tail, sc in the next st P15, 9 sc, sc in the first marked st P16, sc in
both loops of the first ch (which you marked) P17, sc in both loops of the remaining chs (13) including the marked ch P18, sc in the next marked st P19, 9 sc, sc in the last st which you marked at the beginning of the row P20, this is now the new end of each row (36)


R2 sc in the first sc of R1 P21, 7 sc, idec, sc, idec, 10 sc, idec, sc, idec, 8 sc (32)
R3 32 sc (32)
R4 7 sc, idec, sc, idec, 8 sc, idec, sc, idec, 7 sc (28)
R5-6 28 sc (28)
N! If you would like the leg to be taller, add more single crochet rows here before continuing on with R7.
R7 27 sc, ss (28)
R8 ch 1, in blo, 28 hdc (28)
N! Leaving a short yarn tail, cut the yarn, pull it completely out of the last hdc and thread it. Pull the yarn tail under both loops of the first hdc P22, then back down through the last hdc P23, pull on the yarn tail to close P24, then weave in the yarn on the inside of the sock.

Tips & Tricks to adjust the size
R4-9 (heel): The first place where an adjustment can be made is the heel. You can stop doing the double increases earlier or later. As it happens, the number of single crochets on each side of the double increase in the repeat, is the same as the row number. When the heel is finished, which in the pattern is after R9, it should fit snugly around your heel just a bit below the bumps on each side of your foot.
R10 (heel/foot): The second place where you can adjust the size of the sock is in how many chains you make to go over the top of the foot. The chain should fit snugly over the foot when you try it on. I recommend that you go with a number of chains divisible by 2 and if possible, not divisible by 4 (…10, 14, 18…). This will make it easier to decrease 4 evenly at the toe.
R11-14 (foot)/R1-4 (leg): The third place where you can adjust the size is the decrease rows at the beginning of the foot and at the beginning of the leg. I’ve made 4 decreases in each decreasing row, and I’ve placed them on each side of the 2 ”corner” stitches. By the ”corner” stitches I mean the stitches that are directly on top of the 2 corner stitches of the heel. I also make sure to have one row of single crochet in the chains before the first decreasing row (R11 (foot)/R1 (leg)), and one row of single crochet between each decreasing row (R13 (foot)/R3 (leg)). In total I made 2 decreasing rows, both for the foot (R12+R14) and the leg (R2+R4). You can adjust this number depending on how high your foot and wide your leg is.
R15-31 (foot): The fourth and final place where you can make size adjustments is in the number of single crochet rows before you start decreasing to close the toe. I made 17 rows of single crochet, adjust this number depending on the length of your foot. You close the toe by decreasing 4 evenly. Just remember that if you have fewer stitches (smaller size) when you start decreasing, the toe is gonna be shorter, and if you have more stitches (larger size) the toe is gonna be taller.
If you followed this pattern and crocheted your own Bulky Crochet Socks, please share them with me on Instagram (#neacreates/@neacreates) or in the Nea Creates Facebook group! I love seeing what you make with my patterns! 🙂

Do you have a link to print this pattern?
Hi! No, unfortunately I don’t 🙁 You can however purchase an (it’s actually two!) inexpensive and printer friendly PDF-version of the pattern in my Etsy shop: https://www.etsy.com/se-en/listing/595564046/bulky-crochet-socks-crochet-socks 🙂
Thank you for sharing you’re beautiful free patterns. As I’m a beginner crochet your pattern are beautifully explained. 🙅♂️🙅♂️
Thank you so much! 🙏 That makes me so happy to hear! 😆
Gracias poe compartir, saludos.
muito boa a explicação ,parabens
What does P mean? It’s not in the abbreviation key.
P is for Photo or Picture. 😊
What does sk mean?
Sorry, I had apparently missed to include sk in the list of abbreviations. It means “skip”, I’ve added it now, thank you for pointing this out to me! 🙏😊